> For the complete documentation index, see [llms.txt](https://docs.rapidproxy.io/llms.txt). Markdown versions of documentation pages are available by appending `.md` to page URLs; this page is available as [Markdown](https://docs.rapidproxy.io/proxies/integration-guide/static-residential-proxies/undetectable.md).
# Undetectable
## **Step 1: Obtain Proxy Information**
Log in to the RapidProxy dashboard, go to **【Static Residential lP Management】**, and obtain the proxy information:
**IP Address : Port : Username : Password**
## **Step 2: Configure the Proxy in Undetectable**
**1: Add Proxy**
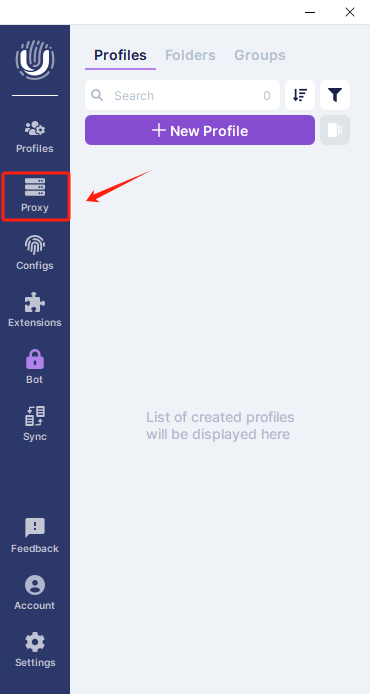
Click on**【Proxy】**and select**【+】**to add a new proxy. Enter your proxy name (e.g., rapidproxy) and choose the proxy type.
**Proxy Type**: This example uses **【HTTP】**. Please note that RapidProxy supports HTTP, HTTPS, and SOCKS5 protocols.
**2: Enter Proxy Information**
Paste the proxy information generated in RapidProxy into the corresponding fields in the Undetectable browser.
**3: Check and Save Proxy Configuration**
Once configured, click on**【Check】** to test the proxy connection. If the connection is successful, you will see the proxy details. Click**【Save Proxy】**to save the proxy configuration.
**4: Bind Proxy to Browser Profile**
1. Go to the**【Profiles】** page and click**【New Profile】**.Enter a profile name (e.g., RAPID) and click**【Create】**.
2. In the settings, find the**【proxy】**option and select the previously added**【rapidproxy】**.Click**【Save】**to complete the binding.
**5: Launch the Proxy Environment**
* Go back to the**【Profiles】**page.
* Click the**【Open】**button or the launch icon to activate the newly created proxy profile.